Ages 12 and up
STEAM/STEM - Digital making for Young Makers. Never too young to learn....
The main difference between STEM and STEAM is STEM explicitly focuses on scientific concepts. STEAM investigates the same concepts, but does this through inquiry and problem-based learning methods used in the creative process.
The main difference between STEM and STEAM is STEM explicitly focuses on scientific concepts. STEAM investigates the same concepts, but does this through inquiry and problem-based learning methods used in the creative process.
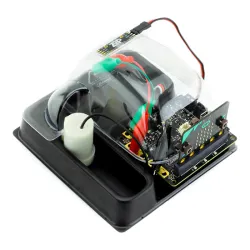
micro:bit V2 Essentials Kit with Jumpers and Duracell batteries (m:bit V2 Ess kit batt)
The BBC micro:bit is a pocket-sized codeable computer with motion detection, a built-in compass, LED display, and Bluetooth technology built in. V2 now with microphone and speaker
micro:bit V2 Junior Kit (micro:bit V2 Junior)
The BBC micro:bit is a pocket-sized codeable computer with motion detection, a built-in compass, LED display, and Bluetooth technology built in. V2 now with microphone and speaker
Volkano Kids Doodle Series 8.5-inch Writing And Drawing Board VK-850-BK (VK Kids doodle)
Fun for the whole family to use. Encourage your child's creativity without the mess or use it yourself for lists.
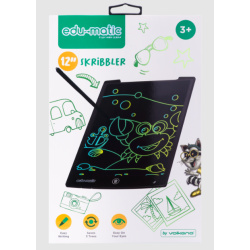
EDU-MATIC SKRIBBLER – 12INCH LCD WRITING TABLET (VK SKRIBBLER 12")
Fun for the whole family to use. Encourage your child's creativity without the mess or use it yourself for lists.
Kitronik Arcade for micro:bit - MakeCode ARCADE (Excluding micro:bit) (KT Arcade mbit)
The Kitronik ARCADE for micro:bit is a fully assembled, compact and powerful gamer.
SunFounder Raspberry Pi Ultimate Starter Kit - Raphael Starter kit for Raspberry Pi 5/4B/3B+/3B/Zero 2W, RoHS Compliant, Video Courses (SunF Ultimate RPi Kit )
The kit offers a rich learning experience for beginners aged 10+. With 337+ components, 161 projects, and 70+ expert-led video lessons, this kit makes learning Raspberry Pi programming and IoT engaging and accessible.
SunFounder RAB Holder Breadboard Kit for Raspberry Pi 5/4, Arduino Uno R4 Minima/Wifi/Uno R3/Mega R3 (SunF RAB holder)
The RAB Holder Kit offers you a sturdy base compatible with a range of devices. Whether you're using the Arduino Uno R4/ Wifi/ R3/ Mega R3 or Raspberry Pi 5/ 4/ 3B+/ 3B/ Zero W/ Zero board, it ensures stability for your device. One product to meet all your needs!
Kitronik Craft and Code for the BBC micro:bit (KT craft and code)
The Kitronik Craft & Code for BBC micro:bit is a fun and engaging way for students to learn about coding as part of wider craft-based projects. Using any version of the BBC micro:bit, this board allows beginners 8+ to design and control various craft projects using MakeCode for micro:bit.
BBC micro:bit Wearable Wrist Strap Accessory - Single Pack (mbit wear watch x1)
The micro:bit wearable kit allows the user to perform movement-based tasks in projects. Ideal for machine learning/AI-based projects, or any project that requires you to be on the move!
- 1


