
MonkMakes


A must-have for your maker projects. This versatile switch provides seamless control over four channels, making it perfect for a variety of applications. The kit comes with a PCB, pre-attached surface mount components, and optional soldering for customization. With features like over-current protection, power and channel indicator LEDs, and low-side switching capabilities of up to 2A per channel, the Mosfetti ensures reliable performance. Each channel is equipped with a flyback diode, making it suitable for handling inductive loads. Take your projects to the next level with the Mosfetti 4 Channel Switch.
The Mosfetti is a 4 channel MOSFET switch designed for maker projects. It is supplied as a PCB with surface mount components attached and header pins and screw terminals as a kit for the customer to solder if required.
- Resettable ‘polyfuse’ to protect against over-current
- Power indicator LED
- LED indicator for each channel
- Low-side switching up to 2A per channel
- Flyback diode on each channel for inductive loads
Typical Uses
RVs, model railroads, strobe lights, irrigation pumps
What's in the box?
1 x 4 channel MOSFETTI switch
Resources
Download Instructions pdf
Download Datasheet pdf

The MonkMakes Switch for micro:bit is a solid-state (no moving parts) switch that allows an output of a micro:bit to turn things on and off.
This board can be used to switch low voltage devices such as light bulbs, a motor, a small heating element or even a string of 12V LED lighting. The voltage needs to be kept under 16V, but the switch will automatically protect itself against too much current.
What's in the box?
1 x Solid-state Switch for micro:bit
Resources
Hi Res Images (Google File Share)
For further help please email [email protected]
Plug a servo meter with 5.4mm (0.1 inch) header socket in, and connect croc/alligator clips to the rings, so that you can easily connect a servomotor to a ring-based microcontroller, such as the BBC micro:bit, Adafruit Circuit Playground Express or Crumble.
What's in the box?
1 x Servo Clip
Resources

The MonkMakes Amplified Speaker 2 is an easy to use amplified speaker on a circuit board.
The board needs a 3.3 to 6V power supply that can be provided by a Raspberry Pi or Arduino. Audio input will normally be to the 3.5mm stereo audio jack socket, which is mixed to a mono signal.
The product includes a separate input with low-pass filter for use with PWM/PCM audio.
What's in the box?
1 x Monk Makes Amplified speaker 2
Resources
Hi Res Images (Google File Share)
For further help please email [email protected]

Now updated with a new chapter on the Raspberry Pico W, this book will teach you Python programming and some basic electronics without assuming any prior knowledge of either subject.
The book initially focusses on Python programming, building up a Morse Code example using the Raspberry Pi Pico’s built-in LED. Once you have mastered the basics of coding the Pico, the book will introduce electronics, showing you how to use sensors, switches, LEDs, servomotors and displays attached to your Pico or Pico W.
All the parts used in the book are available in the companion kit, Electronics Kit 1 for Pico (SKU00088)
What's in the box?
1 x Paperback (162 pages)
ISBN: 978-1-7394874-3-0
ISBN9781739487430
This book will teach you Python programming and some basic electronics without assuming any prior knowledge of either subject. The book initially focusses on Python programming, building up a Morse Code example.
The book is suitable for most ESP32 boards, but concentrates on the most popular ESP32 Lite and the ESP32 DevKit 1. In the chapters on electronics, breadboard layouts are provided for both of these boards.
Discover how to:
- Flash Python firmware onto an ESP32 board Install and use the Thonny Python editor and upload programs on to your ESP32
- Write simple programs to control the ESP32 in Python
- Structure you programs with functions and modules
- Make effective use of Python Lists and Dictionaries
- Attach sensors, LEDs, displays and servomotors to an ESP32 and to program them
- Make use of the ESP32s WiFi capabilities to use the ESP32 as a web server and to call web services on the Internet
What's in the box?
1 x Paperback Printed in full colour.
ISBN978173948745

This board is designed to dock with a BBC micro:bit using the micro:bit's edge connector. The board is a true CO2 sensor that also measures temperature and relative humidity.
Features
- Low power -- power directly from your micro:bit
- CO2 0-5000ppm, temperature and relative humidity measurement
- Has a makecode library to simplify programming
Please note that this product, while it has many of the same features as the MonkMakes CO2 for micro:bit is based on a completely different sensor and is not a direct replacement for use in the Living Space project (amendments will need to be made to the teacher's notes).
What's in the box?
1 x CO2 Dock for micro:bit (Micro:bit not included)
Resources
https://monkmakes.com/downloads/datasheet_co2_dock.pdf
https://monkmakes.com/downloads/instructions_co2_dock.pdf

This board is designed to interface to a BBC micro:bit through ring connectors. The board is a true CO2 sensor that also measures temperature and relative humidity.
Features
- Low power -- power directly from your micro:bit
- CO2 0-5000ppm, temperature and relative humidity measurement
- RGB LED indicates CO2 level
What's in the box?
1 x CO2 Mini Kit for micro:bit
A 4-channel low-voltage Solid State Relay controller designed for the Raspberry Pi Pico. Ideal for projects involving:
- Model railroads
- RV / caravan
- 12V lighting projects
- Aquarium and greenhouse automation
Features
- 4 x 2A (peak) 16V SSRs
- 128x64 pixel monochrome OLED display
- 4 x navigation buttons
- Buzzer
- Reset button
- Access to other GPIO pins
- Extensive MicroPython modules and example code
- Mounting holes
Note: Raspberry Pi Pico NOT included
What's in the box?
1 x Pico Controller
Resources
The MonkMakes GPIO Adaptor for Pi 400/500 makes it easy to use existing Raspberry Pi accessories with the Raspberry Pi 400/500. It's also makes the GPIO pins much more accessible for use with jumper wires.
The adapter is supplied with a Raspberry Leaf GPIO template.
What's in the box?
1 x GPIO Adapter for Pi400/500
1 x Leaf template
Resources
For further help please email [email protected]
This board allows you to connect up to six servomotors to a microcontroller. Breadboard-friendly, the ServoSix V3 is perfect for the Raspberry Pi Pico, but also compatible with ESP32, Arduino etc.

Features
- Screw terminals and header pins for servo power supply -- use either.
- Reverse-polarity protection for the servo power supply.
- Power indicator LED.
- Electrolytic reservoir capacitor for servo supply smoothing.
- Current limiting resistors for servo control lines (to protect GPIO pins)
What's in the box?
1 x ServoSix V3 board
Resources
For further help please email [email protected]

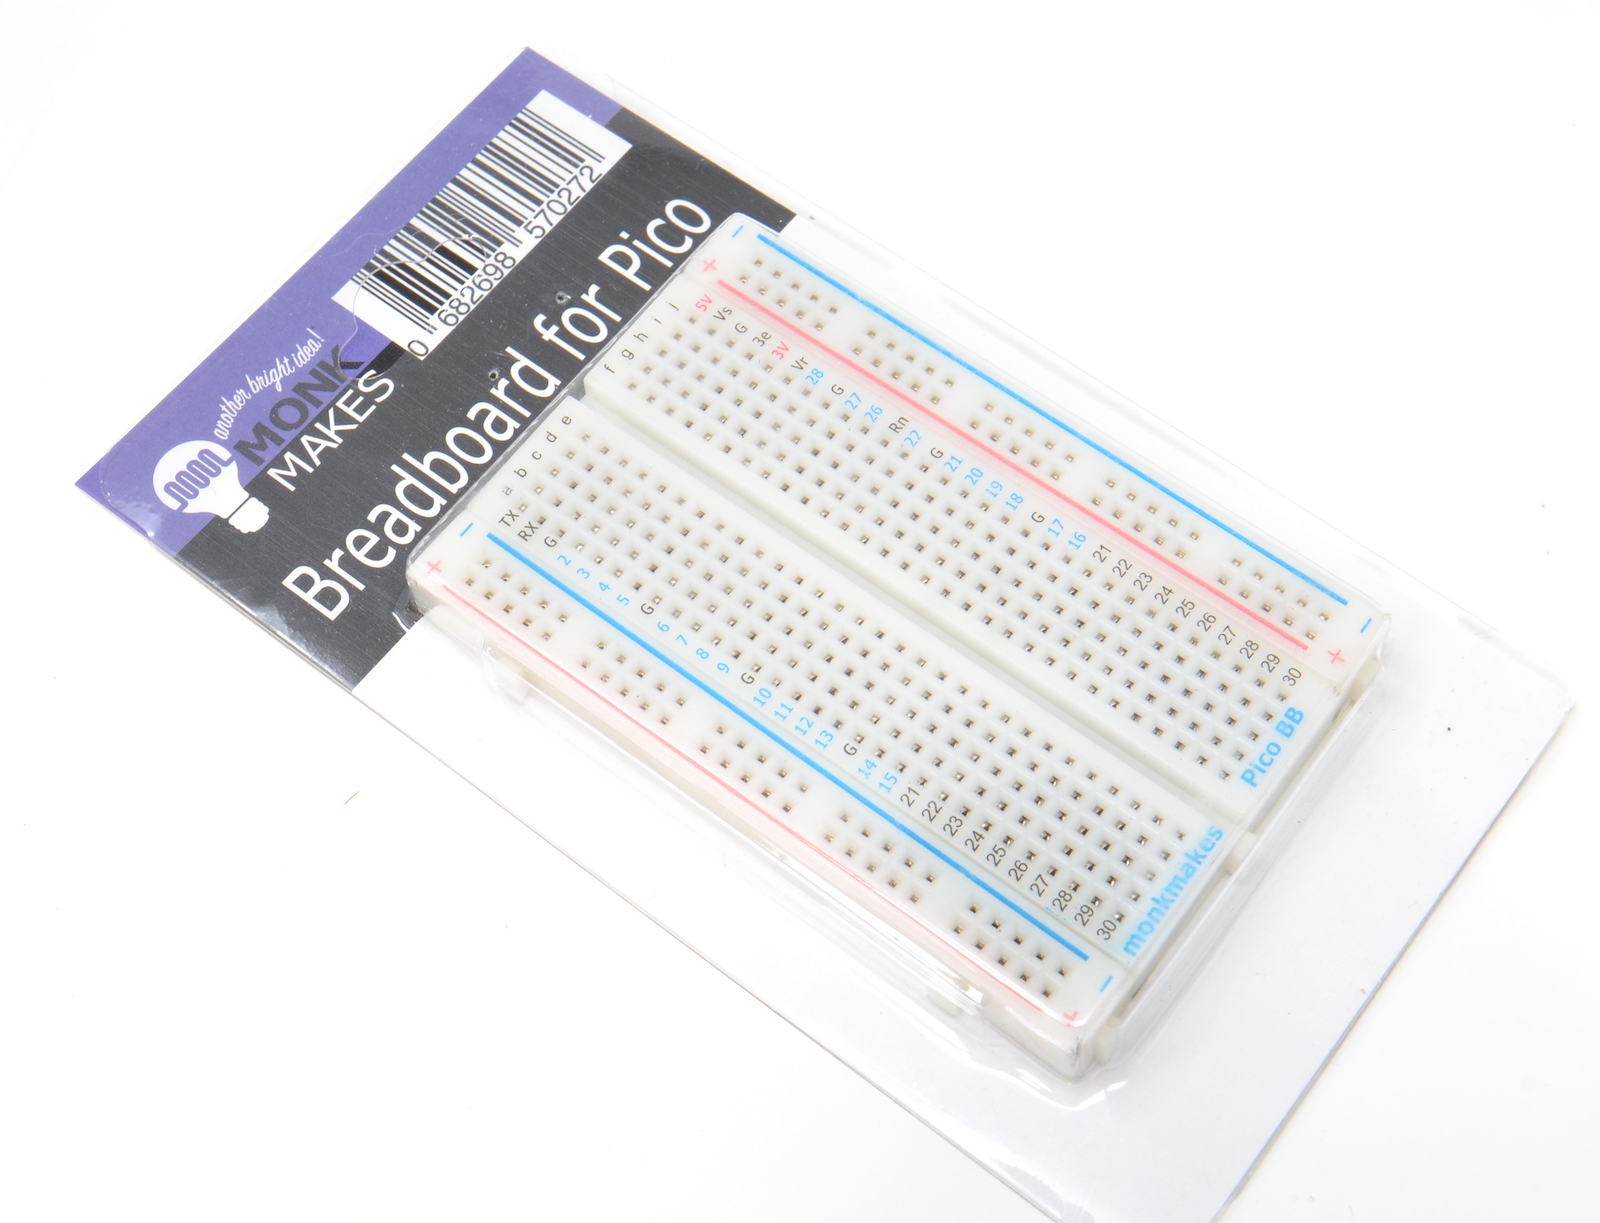
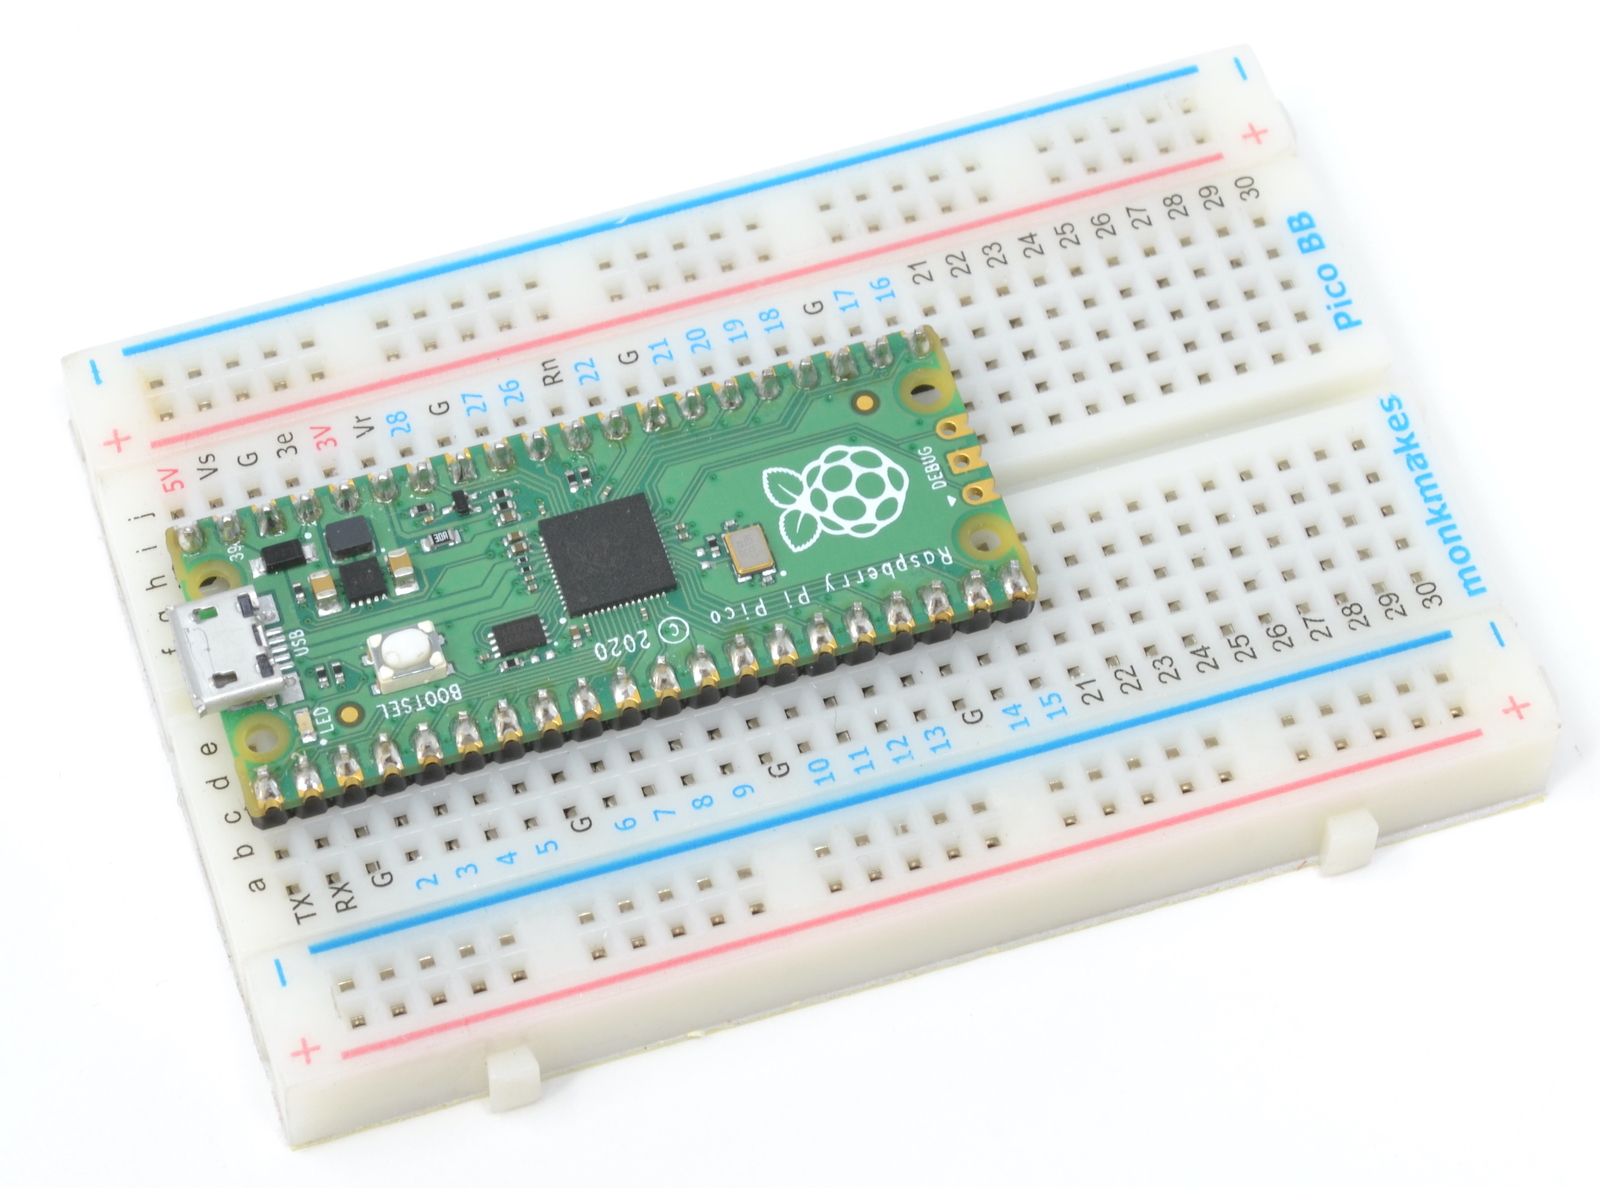
Specifications
- 400 tie point
- 2 power busses
- Size 8.2x5.5x0.85cm
- Self-adhesive back
- Electrical Characteristic Units Accepts wires and legs 20-29 AWG Maximum voltage AC/DC 50 V Maximum Current 2 A
(WARNING: Low voltage, low current usage only. Maximum 50V at 3A.)
What's in the box ?
1 x Breadboard for Raspberry Pi Pico
(*Raspberry Pi Pico not included)
Resources
(*Raspberry Pi Pico not included)